Microgreens have been making appearances on plates in restaurants since the 1980s, punching above their size class when it comes to the nutritional value that they deliver, and the richness of their flavors.
Small they may be, but the variety in textures accompanied by the aromatic taste makes them well worth the effort of growing them yourself rather than just popping down to the local supermarket.
The ease at which they can be grown, the flexibility of where they can be grown, and the quick growing cycle from seed to harvest make having your very own microgreen garden well worth the effort.
Growing Microgreen
Starting your own mini farm packed with microgreens couldn’t be easier. These micro herbs, which are normally between 1–3 inches in height, are very easy to grow and can be grown successfully in settings from greenhouses to windowsills.
Planning has to start first with seed selection, and the starter farmer should opt for about 5 different varieties of greens to have a varied crop. To eliminate the guesswork of which seeds to sow, it is possible to purchase a professionally premixed pack of seeds that will all mature at the same time.
Regardless of which seeds are bought, they need to be thoroughly rinsed to remove any residues, and then soaked in a bowl of cold water for about 12 hours or overnight. After that period has expired, the seeds should be rinsed again and returned to the empty bowl, then covered in a damp paper towel to provide moisture and prevent the seeds from drying out.
This pre-soaking process helps to weed out which seeds are going to be viable before sowing, saving time, effort, and disappointment. Seeds that float to the surface of the bowl are unlikely to bear fruit, so to speak, and should be discarded.

Sprouting will then occur over the next 36 to 48 hours and it is recommended that the seeds are sprayed lightly a few times a day. Once the little sprouts are noticeable, the seeds are ready to be transplanted into their growing medium, which is either soil or coconut coir.
The easiest option is soil as it is cheap, readily available, and easy to use. Within an indoor setting, whether in a greenhouse or other indoor space, temperatures and ventilation can be controlled, and even lighting can be regulated for best results.
Once the seeds are ready and soil has been selected for the growing medium, choosing the right containers is the next step, and trays are one of the easiest to employ due to their cost and ease of scalability.
Also read: Why Microgreens are Expensive?
Microgreen Trays
Tray selection depends on objectives in regards to the size of the crops to be grown, space available, and even budgetary concerns. Fortunately, there are trays to suit every situation and every budget. Avoid flimsy trays, however, despite the cheap prices as they will complicate the process if they have to be constantly moved or stacked.
Buy durable and strong and you can’t go wrong.
Shallow trays with a depth of about 1.5 inches are more than suitable for microgreens, with or without holes for drainage. As seedlings don’t require a lot of space for the roots, and the plants themselves only growing to a height of 1-2 inches, they are perfect for the job.
The number of microgreens to be grown in each tray depends on the type of plant and the size of the seeds themselves. A simple rule of thumb is if the seeds are large to place 6 or 8 of them per square inch in the tray. Smaller seeds can be placed 10 to 12 per square inch, allowing sufficient space for the roots to grow unimpeded.
The soil itself shouldn’t be compressed too heavily, just leveled out by hand, and the sprouting seeds gently pressed into just below the surface.
Once all the seeds are sowed, water them from a spray bottle then cover the trays either with another tray or with a paper towel. This will give them a blackout period which will help the seeds to germinate just that bit faster.
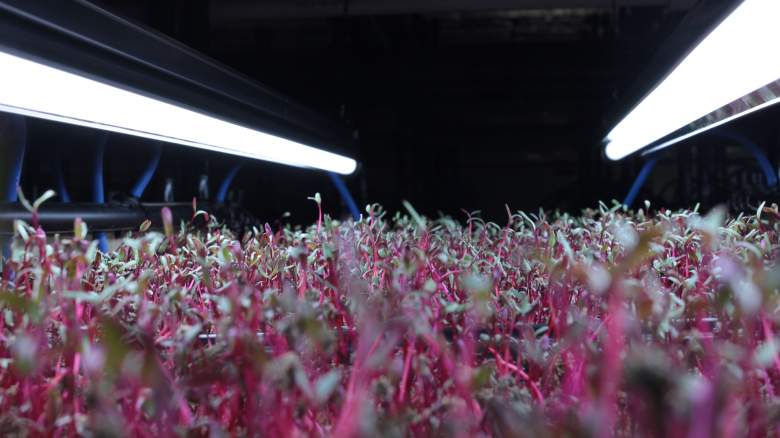
After a few days, the baby shoots will start to grow into baby plants and should now be exposed to sunlight or grow lamps, about 4 to 8 hours a day is sufficient. Not enough light and the actual taste of the plant can be underwhelming, and the nutritional content decreased.
Popular types of vegetables to grow are radishes, broccoli, pea shoots, mustard, and arugula, each of them bringing to the plate their own splash of color, texture, taste, and a host of rich vitamins and nutrients.
Harvesting Microgreens
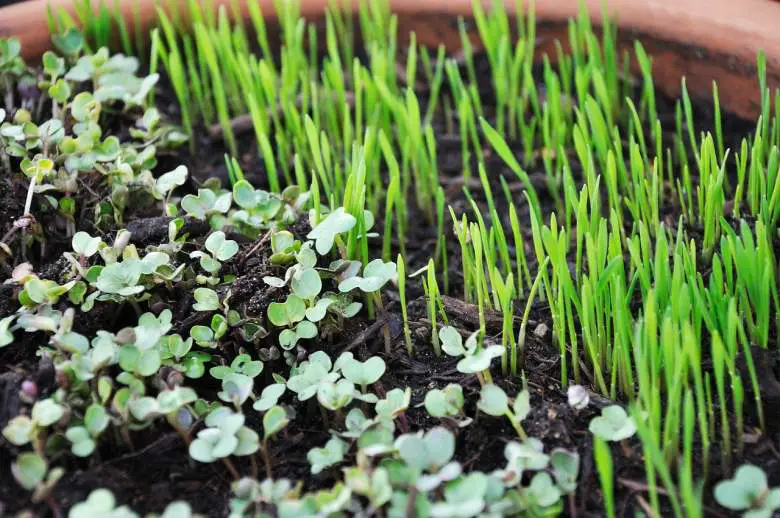
Between 7 to 21 days a telltale sign that the crops are ready for harvesting, is the rich green color of the first two leaves. Once these are noticeable, they’re good to go.
It is important, though, that the microgreens are never pulled directly from the soil as that will disturb the roots of the plant, and not allow them to be regrown. Instead, to achieve multiple harvests from one tray, cut about a centimeter above the soil line with a pair of scissors, a sharp knife, or a pair of sheers, and then the next harvest will soon be on its way.
The microgreens harvested then need to be washed, dried with a paper towel, and then are ready to be eaten at their freshest. Any excess can be stored in the refrigerator for a few days.
Any microgreens grown outside can be harvested in much the same way, although they may take slightly longer to grow due to temperature fluctuations, intensity, and consistency of sunlight. They do tend to be hardier, bigger, and make a better crop for a profit-making enterprise.
One of the many selling points with microgreens is that they are incredibly nutritious when compared to their bigger brothers, packed with up to 40 times more vitamins and minerals. Also, because they are so cheap, quick, and easy to grow, they can be marketed very profitably year-round.
There can be no doubt that growing microgreens commercially makes good business sense if you are so inclined. Sold by the pound, they are ideal for urban growers or small-scale farmers who are looking for a high-profit margin enterprise with a small financial commitment to start.
If expansion is a goal for the future, the microgreen garden can easily be scaled up by adding a few more trays at very little cost or changing to a larger location to add more varieties.
Regardless of your goals with growing microgreens, there is no doubt that they are, pound for pound, punching above their weight class in terms of taste, nutritional content, and the amount of profit available in a competitive marketplace.
Small in size they may be, big on potential they definitely are.